Getting CppUTest to run in your computer
Unit-testing is a fundamental tool in code development. This post will introduce the usage of CppUTest, a framework for performing unit tests. It includes a set of resources related to CppUTest and how to use CppUTest to perform unit testing. In a later post, we will see how to apply CppUTest to micro-controllers code development.
All the examples contain code ready to run on a PC. In every example, you will find a Makefile to create the running code. This Makefile accepts a set of switches:
- with no switch, it just compiles the programs:
$ make
- the switch
runcompiles (if necessary) and runs the program$ make run
- to get rid of all dispensable files, issue make with clean:
$ make clean
Note that you need to adapt the Makefiles to fit your system! In particular, pay attention to the setting of CPPUTEST_HOME variable (see Configuration).
All the examples are available as repositories in Bitbucket, that you can download.
Get CppUTest
CppUTest can be downloaded from https://cpputest.github.io/. The code for the latest version can be downloaded by using one of the two buttons near the top of the page. Installation instructions are also provided.
Installation
CppUTest can be installed by compiling the source files or by installing from package. Compiling from source will be the most general way. As an alternative, CppuTest is available as a package in Debian based systems, such as Ubuntu. If you have an Ubuntu or any other Debian based system, you can install the package via apt-get. AFAIAA, there is no package for rpm based systems (RedHat, Fedora and cousins).
For Windows users, if you are running Windows 10, I usually suggest to run CppUTest under the Windows Subsystem for Linux (WSL). See this other post for some indications on how to set WSL to work on your Windows machine. For Windows user without access to WSL (running Windows 7 or older versions), a solution is to run CppUTest under Cygwin.
Compiling from source
Compiling CppUTest from source is probably the most general way of having CppUTest installed. In a Linux system, this should not be a problem, provided the required packages are installed. In a machine with Fedora 29, at least the following are required (as of February 2019):
- gcc
- gcc-c++
- make
- autoconf
- automake
To install by compilling the source, you may either:
- download one of the files from the CppUTest site and extract the contents;
- clone the CppUTest repository (instructions in the CppUTest site).
Now that you have a copy of the repository, it is time to compile. In Linux (native or in a Windows box), the instructions to compile are presented below. These correspond to the section called “Using CppUTest with MakefileWorker.mk and gcc” in the CppUTest page. All the examples provided assume that CppUTest was compiled using this option.
$ cd cpputest-3.8
$ autoreconf . -i
$ ./configure
$ make tdd
$ export CPPUTEST_HOME=$(pwd).
[Note: CppUTest page contains an extra \ in the first command line, that should be ignored.]
The command cd cpputest-3.8 refers to changing to the base directory of CppUTest (the top level folder of the archive file). This directory should contain, among others, the directories include/ and lib/.
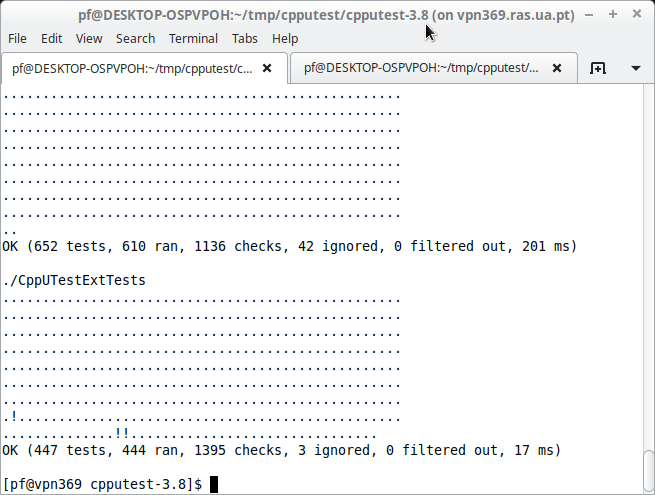
If all the required packages are installed, the installation procedures above should run smoothly and the final result should be the following.
In the configuration proposed for the following examples, the variable $CPPUTEST_HOME should be configured in the Makefile to point to the base directory of the CppUTest instalation.
The file README_InstallCppUTest.txt, in the base directory, contains alternative instructions to install CppUTest.
Configuration
CppUTest can be installed locally or system-wide. In case the system is installed locally, you will need to know in which folder in your machine CppUTest was installed. This folder is usually the folder where you compiled the source. The variable CPPUTEST_HOME that appears in the Makefiles should point to this folder. CPPUTEST_HOME should contain a lib folder with two files: libCppUTest.a and libCppUTestExt.a. Alternatively, you can issue the command sudo make install to have CppUTest installed system-wide. This will make setting the variable CPPUTEST_HOME unnecessary.
CppUTest2
This test uses CppUTest to test CppUTest (hence, it is a CppUTest squared). It contains a single test and it serves to check that the compilation process is running, that all libraries and files are correctly installed and that the process to adapt the Makefiles to you particular installation is mastered. I would not recommend to try to write your tests before you can run this example in your PC.
The repository page in BitBucket can be accessed here.
To copy the repository contents to your PC, issue the command
$ git clone https://bitbucket.org/pnfonseca/cpputestsquared.git CppUTestSquared
After cloning the repository, you need to adapt the Makefile; in particular, make CPPUTEST_HOME point to the folder where CppUTest is stored.
The command make run should result in the following:
$ make run
g++ -I/include *.cpp -L/lib -lCppUTest -o dummytest
./dummytest

testRunner.cpp:31: error: Failure in TEST(DummyGroup, OnlyTest)
	Fail me!

.
Errors (1 failures, 1 tests, 1 ran, 1 checks, 0 ignored, 0 filtered out, 1 ms)

make: [Makefile:44: run] Error 1 (ignored)
Although it looks like an error, this is the correct result: this code contains one single test, that is expected to fail. This means that you have all the required libraries and compilation chain ready to create unit tests with CppUTest!
Unit Test example
This contains a running example on how to test a C module using CppUTest. The module contains a single function, bin2bcd(), that receives a uint16_t value from 0 to 9999 and computes the 4 digits that represent this value, stored in a uint8_t array. This example contains two folders, showing an example of how you can organize your production code and test code, with one folder for your production code (the code for the application) and another folder for the tests:
- UnitTest_Program, with the example of a main program that uses the function in the module;
- UnitTest_Tester, with the code that implements the tests.
The repository page in BitBucket can be accessed here.
To copy the repository contents to your PC, issue the command
$ git clone https://bitbucket.org/pnfonseca/unittest_example.git UnitTest_Example
As is, the code should compile and run, passing all the tests. To run the tests, cd into UnitTest_Tester and issue the command
$ make run
The output should terminate with the following lines:
./tests
.......
OK (7 tests, 7 ran, 25 checks, 0 ignored, 0 filtered out, 0 ms)
Running Unit-Tests
The code for the unit tests is in the file testRunner.cpp, in the UnitTest_Tester directory.
The code in conversion.c (in the folder UnitTest_Program) does not implement all the required features. The module is specified to handle only positive values from 0 to 9999. The code, as is when you extract the repository, cannot handle values out of this range. When an out of range value is provided, bin2bcd() should return an error value, which is not yet implemented. The following describes the steps you should take when implementing this feature using Test-Driven Development and Unit-Testing.
You will notice that the last test is disabled by an #if 0 preprocessor directive. This test verifies the feature that is not yet implemented: signaling an invalid input value by returning the adequate code. Enabling this test reproduces the cycle of unit testing:
- Write a new test
- In this case, you do not need actually to write the test; you just have to enable it, by changing
#if 0to#if 1. In an actual development process, you would write the test for the next feature to be added.
- In this case, you do not need actually to write the test; you just have to enable it, by changing
- Make it fail:
- Run the tests by issuing
make run. The resulting output should indicate that the tests have failed. (You should always start with a test that fails!)
- Run the tests by issuing
- Make it pass:
- Edit the source code for the module (file conversion.c in the UnitTest_Program directory) and add the necessary code, so that bin2bcd() returns a value of -1 when the input value is not between 0 and 9999.
- Run the tests again (issue
make run) - Repeat until success.
Note that, even after correcting the code to pass the tests, you still have refinements to do on your code. In this case, function bin2bcd() is returning the magical value -1. What does it mean? You should probably create an enum for the possible return values. Unit testing, refactoring and versioning systems (i.e., Git), they all go together in TDD: commit the version that is passing the tests with the magical value, refactor to include the enum for the return values (and make the magical value disappear), test until it passes again and commit the refactored version.
Future work
In a later post, we will see how to use CppUTest in embedded systems, applying unit testing to code that accesses the micro-controller registers.
Revised in April 2021 for small corrections.
Comments
Your comments are welcome. Feel free to leave here your remarks or your opinion!